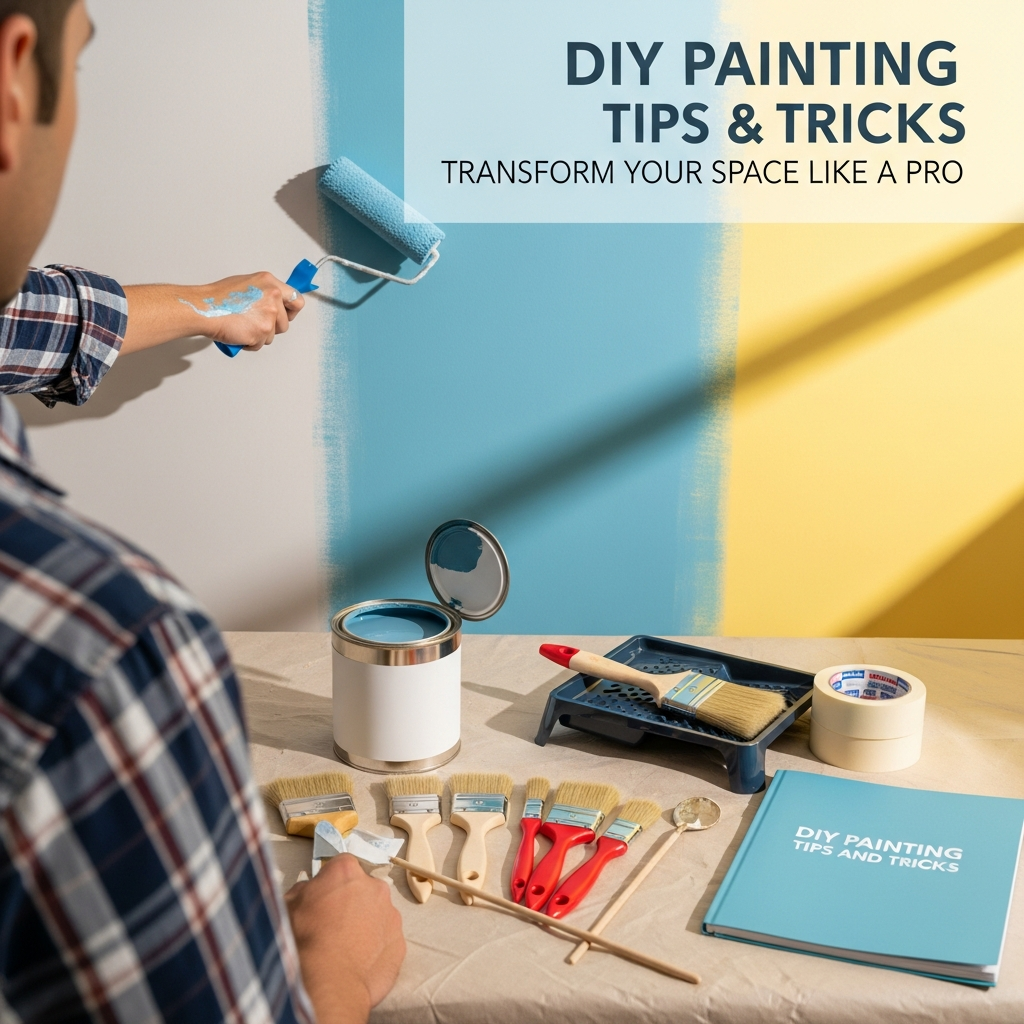
A fresh coat of paint can instantly revitalize any room, making it one of the most cost-effective and rewarding DIY projects you can tackle. Whether you’re a first-time painter or a seasoned DIYer, the right techniques make all the difference. Here are some proven tips and tricks to help you paint like a pro and achieve flawless results every time.
1. Preparation Is Everything
Before you even open a paint can, take time to prep your space:
- Clear the Room: Remove as much furniture and décor as possible. Cover remaining items and floors with drop cloths.
- Clean the Walls: Dust and dirt can prevent paint from adhering. Wipe down surfaces with a damp cloth, and use mild soap for stubborn grime.
- Repair Imperfections: Fill holes and cracks with spackle, then sand smooth. Don’t forget to sand glossy surfaces for better paint grip.
- Tape Like a Pro: Use painter’s tape to protect trim, ceilings, and other areas you don’t want to paint. Press down edges firmly to prevent bleeding.
2. Choose the Right Tools
Quality tools make a huge difference:
- Brushes: Use angled brushes for trim and cutting in edges. Synthetic bristles work best with latex paints.
- Rollers: Select a roller with the right nap (thickness) for your surface—short for smooth walls, thicker for textured ones.
- Extension Poles: These help reach ceilings and high walls without a ladder.
3. Pick the Perfect Paint
- Finish Matters: Use flat or matte for ceilings, eggshell or satin for walls, and semi-gloss or gloss for trim and doors.
- Test Colors: Paint a small patch and observe it in different lighting throughout the day before committing.
4. Master the Technique
- Cut In First: Start by painting edges and corners with a brush before using a roller for the main areas.
- Use a ‘W’ Pattern: Roll paint onto the wall in a ‘W’ shape, then fill it in without lifting the roller. This helps distribute paint evenly and avoids streaks.
- Apply Two Coats: For the best coverage and color depth, always apply at least two coats, allowing proper drying time between each.
5. Smart Clean-Up and Storage
- Wrap Brushes and Rollers: If you need a break, wrap tools in plastic wrap or foil to keep them from drying out.
- Clean Up Promptly: Wash brushes and rollers immediately after finishing (water for latex paint, mineral spirits for oil-based).
- Store Leftover Paint: Seal cans tightly and store them upside down to prevent a skin from forming.
6. Bonus Pro Tips
- Remove Tape While Wet: Peel painter’s tape off before the paint dries completely to avoid peeling off any paint with it.
- Use a Paint Guard: Instead of tape, a paint guard or even a cut-up piece of cardboard can help with precision on tricky edges.
- Maintain Ventilation: Keep windows open or use fans to speed up drying and reduce paint fumes.
Final Thoughts
DIY painting doesn’t have to be intimidating! With the right preparation, tools, and techniques, you can achieve smooth, professional-looking results and enjoy the satisfaction of transforming your space. Happy painting!
Discover more from TheHubBuzz.com
Subscribe to get the latest posts sent to your email.